HOME CANNING · LIDS & STORAGE
A sound seal begins with a clean jar rim, an undamaged new lid, and the band tightened according to the manufacturer—not by force. Storage begins only after jars have cooled and seals have been checked.
Prepare the closure correctly
- Inspect jar rims and lids; do not use dented, deformed, rusty, or gasket-damaged lids.
- Follow the lid manufacturer’s current instructions for washing or preheating. Do not assume older boiling practices apply to every modern lid.
- After filling and adjusting headspace, clean the sealing surface thoroughly.
- Center the lid and tighten the screw band only as the manufacturer directs. Overtightening can prevent venting, buckle lids, or contribute to breakage.
While jars cool
- Lift jars upright and place them where they can cool undisturbed for 12–24 hours.
- Do not retighten bands, press lid centers, or disturb jars while seals form.
- After cooling, remove bands and test each seal according to NCHFP guidance.
- Refrigerate any unsealed jar promptly, or follow a current tested reprocessing procedure within the allowed time.
Store without screw bands
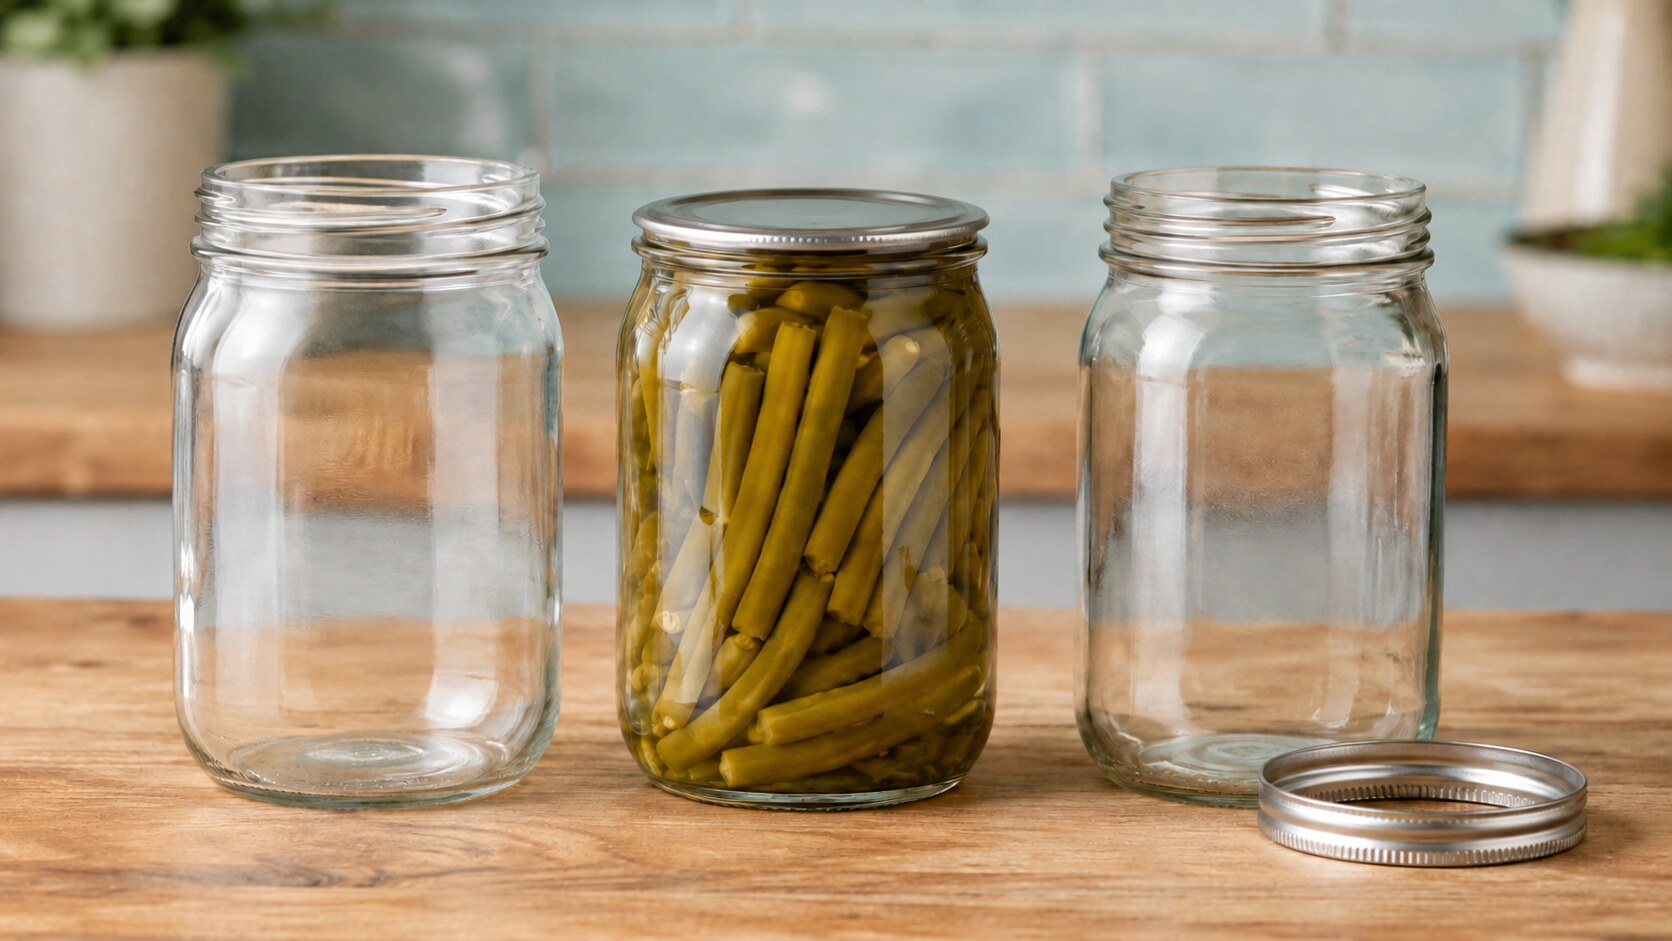
Wash and dry sealed jars, label the contents and processing date, and store them without screw bands. Removing bands makes failed seals easier to notice and prevents rings from rusting onto jars or concealing leakage.
Choose the storage area
- Cool, clean, dark, and dry
- Away from ranges, furnaces, hot pipes, sunlight, damp basements, and freezing temperatures
- Shelved in a single layer when practical, without stacking heavy items on lids
- Easy to inspect for leakage, rising bubbles, unusual odor, spurting liquid, mold, or a lost seal
When in doubt, do not taste the food. Discard suspect jars according to current food-safety guidance.
Sources and further reading
Use a tested process
Use a current tested recipe from NCHFP, USDA, or a university Extension source. Follow its jar size, headspace, preparation method, process, time, pressure, and altitude adjustment exactly.