HOME CANNING · PRESSURE CANNING
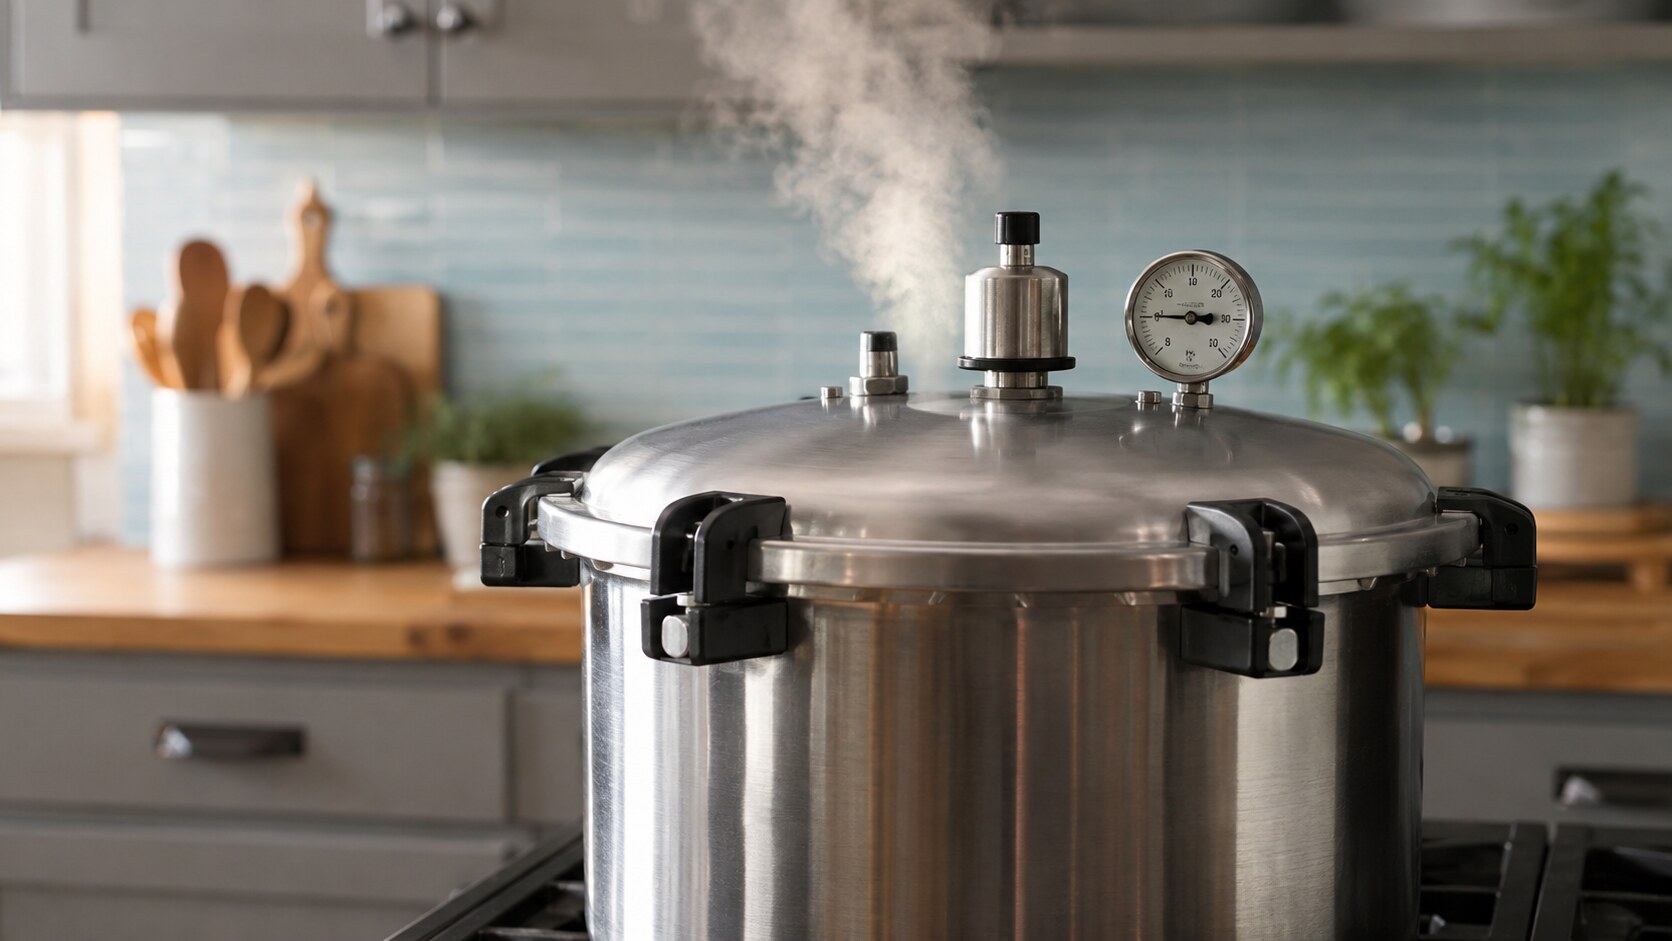
Pressure canning is the only recommended home-canning method for low-acid vegetables, meats, poultry, and seafood. It requires a true pressure canner, a tested recipe, and precise control of time and pressure.
Before you begin
- Use a pressure canner—not a pressure cooker or electric multicooker unless a tested process explicitly supports that exact appliance.
- Check the canner, gasket, vent port, safety devices, and gauge before every session.
- Have dial gauges tested for accuracy as recommended by the manufacturer or local Extension service.
- Know your altitude; the required pressure may change with elevation.
,
The non-negotiable sequence
- Add the water amount specified by the canner manufacturer and load filled jars.
- Lock the lid and heat with the vent open. Vent a steady funnel of steam for a full 10 minutes.
- Close the vent or add the weight, then bring the canner to the pressure specified by the tested recipe for your altitude.
- Start timing only when the correct pressure is reached and maintain it continuously.
- If pressure falls below the required level at any point, return to pressure and restart the full processing time.
- Turn off heat and allow the canner to depressurize naturally. Never force-cool it.
- After full depressurization, remove the weight or open the petcock, wait 10 minutes, then open the lid away from your face.
- Lift jars upright and cool undisturbed for 12–24 hours before testing seals.
,
Why substitutions are unsafe
Jar size, food density, packing style, headspace, processing time, pressure, and altitude adjustment work together. Do not improvise ingredient ratios or convert a boiling-water recipe to pressure canning—or the reverse.
,
Sources and further reading
Use a tested process
Always use a current tested recipe from the National Center for Home Food Preservation, USDA, or a university Extension source. Follow the recipe’s food preparation, jar size, headspace, processing method, time, pressure, and altitude adjustment exactly.