HOME CANNING · START HERE
Water-bath canning is for high-acid foods prepared with a current tested recipe. The recipe—not appearance or tradition—determines whether this method is safe.
What belongs in a boiling-water canner
Common examples include many fruits, jams and jellies, pickles, relishes, and properly acidified tomato products. Low-acid vegetables, meats, poultry, and seafood require pressure canning.
,
Equipment that matters
- A canner deep enough to keep at least 1 inch of briskly boiling water over the jars
- A rack that keeps jars off the bottom
- Home-canning jars in the size specified by the recipe
- New lids, compatible bands, a jar lifter, funnel, headspace tool, and clean towels
,
The process
- Read the entire tested recipe and determine your altitude before starting.
- Prepare jars and lids according to the recipe and current manufacturer instructions.
- Fill jars, remove bubbles when directed, set the specified headspace, clean rims, and apply lids and bands.
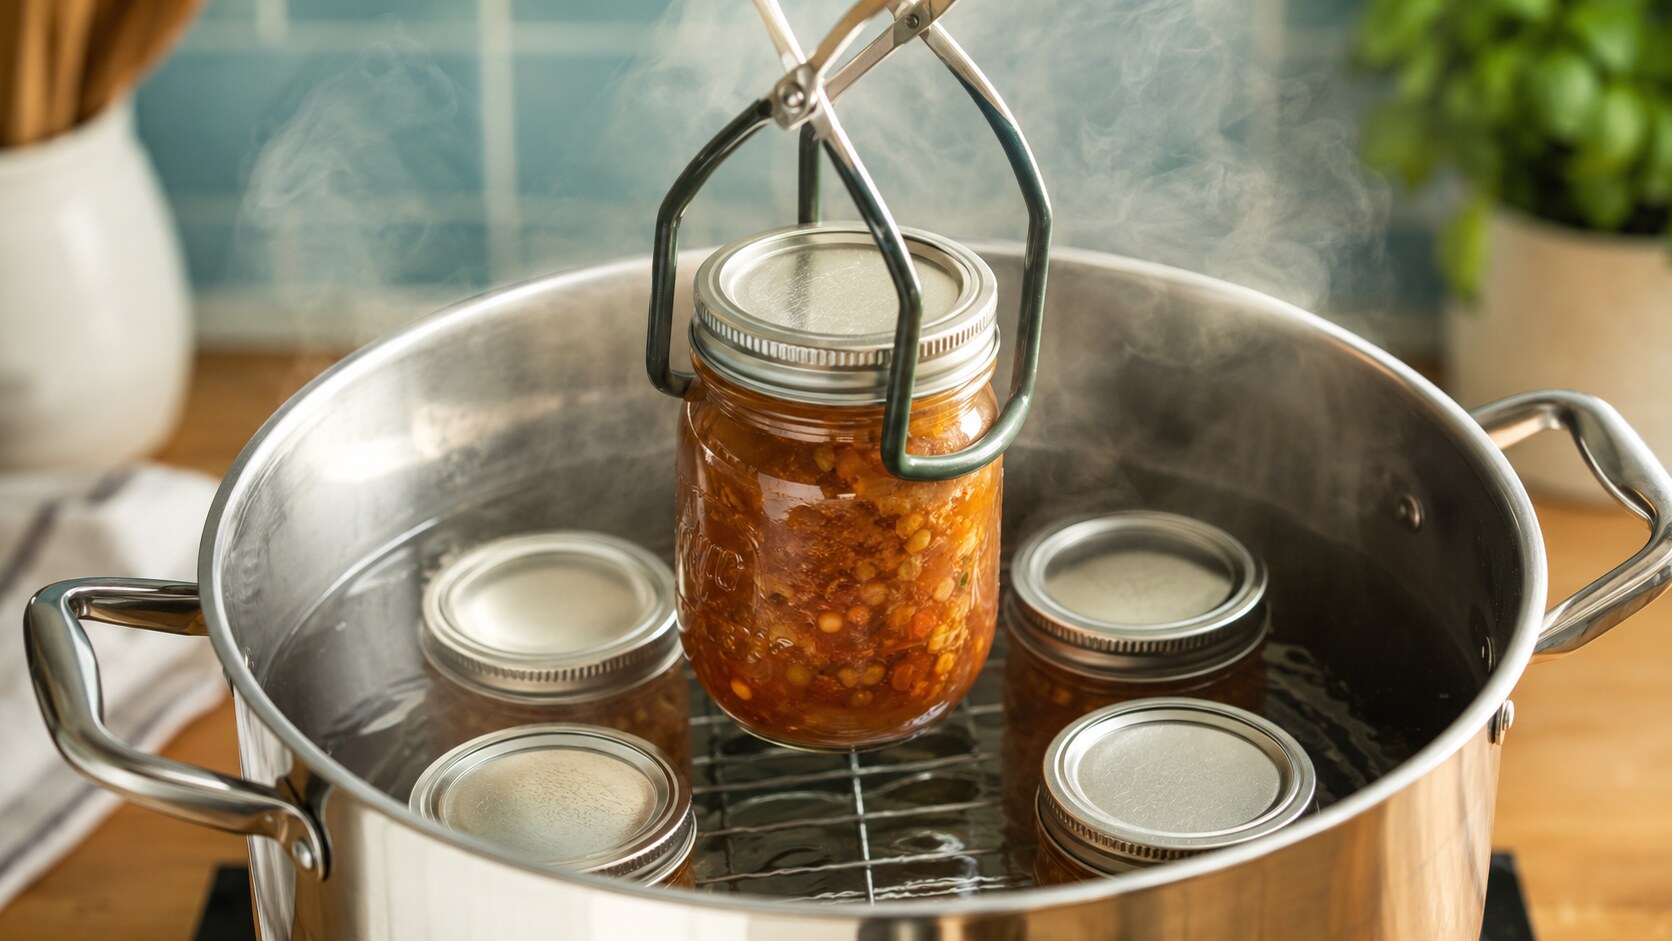
- Load jars and maintain at least 1 inch of water above them. Start timing only when a full boil is reached.
- Maintain a vigorous boil for the entire process. If boiling stops, return the canner to a boil and restart the full processing time.
- Remove the lid as directed, lift jars upright, and cool undisturbed for 12–24 hours. Do not retighten bands.
- Test seals, remove bands for storage, label, and refrigerate any unsealed jar promptly.
,
Altitude is part of the recipe
Boiling-water processing times increase with elevation. Use the adjustment supplied by the tested recipe; never guess from memory.
,
Sources and further reading
Use a tested process
Always use a current tested recipe from the National Center for Home Food Preservation, USDA, or a university Extension source. Follow the recipe’s food preparation, jar size, headspace, processing method, time, pressure, and altitude adjustment exactly.