Sourdough starter guide
A practical, beginner-friendly way to build a wild sourdough culture with flour, water, patience, and careful observation.

A sourdough starter is a living culture of wild yeast and lactic-acid bacteria. Flour supplies food for the culture; water brings the mixture together; regular feedings help the starter grow stronger and more dependable. The process is simple, but a new starter rarely behaves according to a perfect calendar.
The short version
- Begin with equal weights of flour and water. A digital kitchen scale is strongly recommended.
- Once the culture begins fermenting, retain a small portion and feed it equal weights of starter, flour, and water—a 1:1:1 feeding by weight.
- Keep it loosely covered at a comfortable room temperature.
- Feed consistently and watch its rise, bubbles, aroma, and repeatability.
- When it begins rising reliably after several feedings in a row, use the readiness signs below to decide when to bake.
What you need
- A clean, clear pint canning jar or other food-safe container with room for the starter to expand; I use a pint canning jar
- A digital kitchen scale
- A 50/50 mixture of whole-wheat or rye flour and unbleached bread or all-purpose flour
- Room-temperature water
- A spoon or small spatula
- A loose-fitting lid or a clean, securely fastened breathable fabric cover; I use fabric covers
- A rubber band or washable marker for noting the starter’s level immediately after feeding
A straight-sided clear container makes growth easier to judge. Use a container large enough that a vigorous starter can at least double without becoming overfull.
A small, manageable starting routine
First mixture
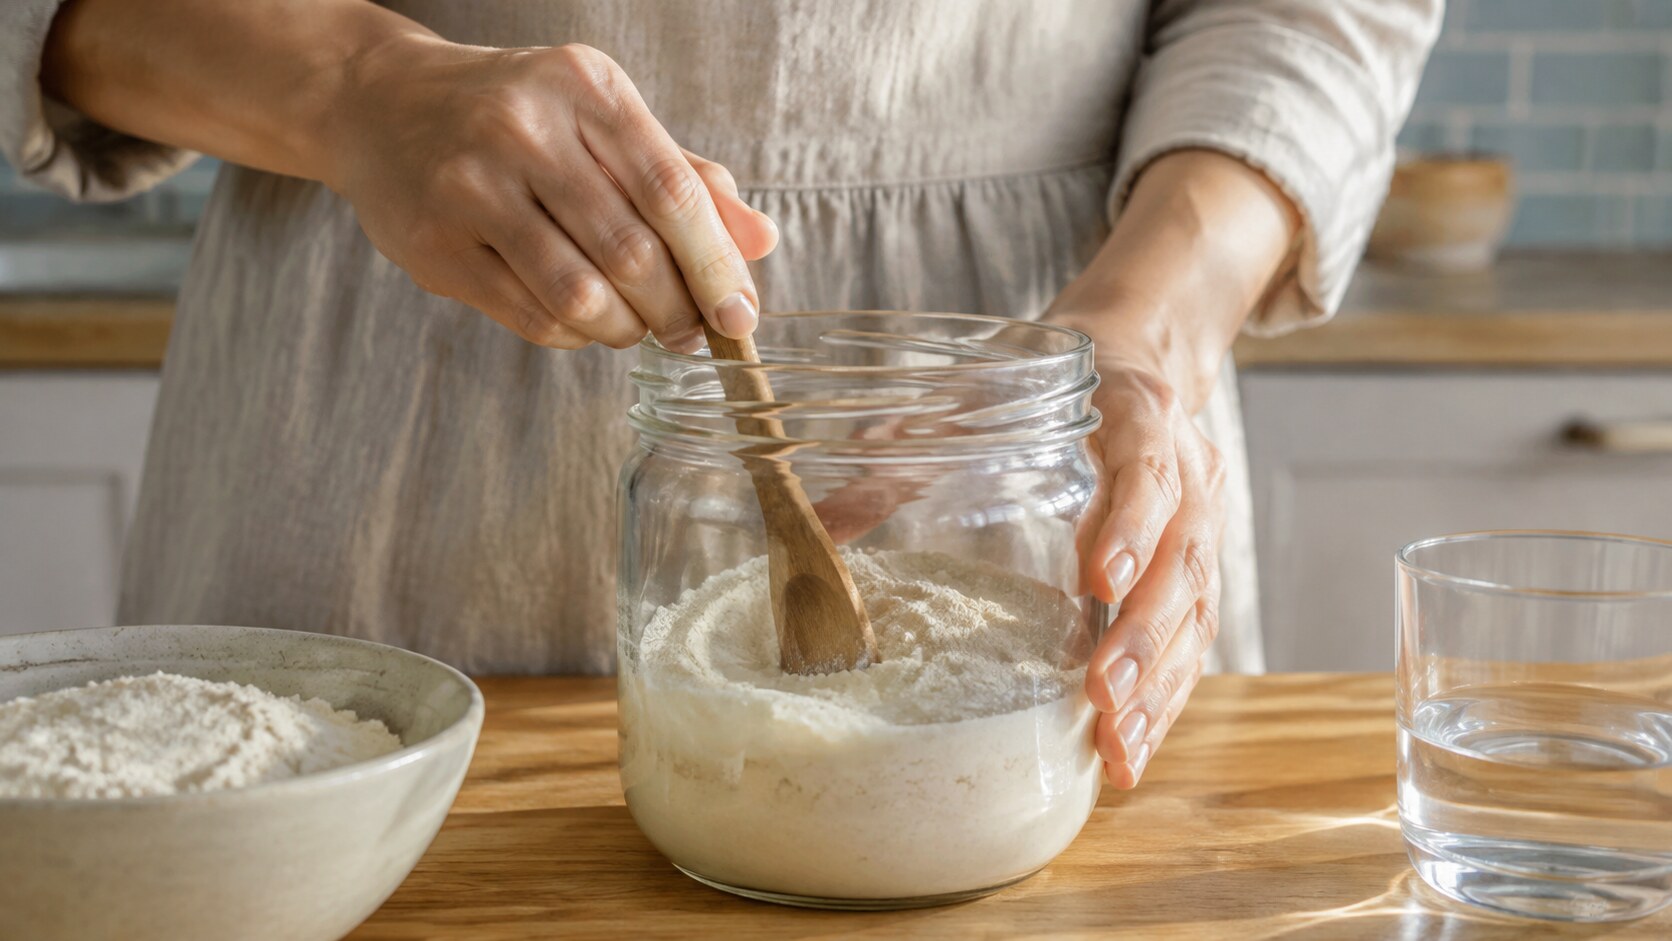
- Place 10 grams of flour and 10 grams of water in the clean container. This small batch minimizes waste.
- Mix until no dry flour remains. Scrape down the sides.
- Cover loosely and mark the mixture’s starting level.
- Leave it at a comfortable room temperature away from direct heat or harsh sunlight.
Feedings
Initial bubbles, expansion, or a changing aroma often appear within 2 to 4 days, although timing varies. Once the mixture begins showing fermentation, begin regular feedings. Retain 10 grams of starter, then mix in 10 grams of water and 10 grams of flour. This keeps the culture at a simple 1:1:1 ratio by weight while minimizing discard.
Feed about every 24 hours while the starter is young and developing. If it begins peaking and collapsing well before the next feeding, a more frequent feeding or a larger flour-and-water feed may be useful. Temperature, flour, water, and the developing culture all affect the pace, so observe the starter rather than feeding solely by the clock.
What to expect
Early activity
A new mixture may inflate dramatically during its first few days. That early burst is exciting, but it doesn’t mean your starter is ready to bake with yet.
The quiet period
The starter may then appear to stop. Bubbles may become smaller, its rise may weaken, and the aroma may shift. This quiet period is common. Continue consistent feedings unless you see clear signs of spoilage.
Gradual consistency
As your starter gets stronger, you’ll begin to see a more predictable pattern: feed it, watch it rise, and then watch it slowly fall. The aroma should be pleasantly fermented—often tangy, fruity, yeasty, or yogurt-like—rather than putrid.
Why discard part of the starter?
Removing part of the culture before feeding keeps the total amount manageable and gives the retained starter enough fresh food. Without reducing the starter, each feeding would require progressively more flour and water. Do not save discard from a brand-new, unestablished culture for cooking; wait until the starter is healthy and reliably active.
How to tell when it is ready for bread
Your starter is ready when it behaves predictably—not because it has reached a certain number of days old. Look for all of the following:
- It becomes abundantly bubbly after feeding.
- It roughly doubles within 6 to 8 hours at room temperature.
- It repeats that rise over several consecutive feedings.
- It has enough structure to expand rather than remaining thin and flat.
- Its aroma is clean and pleasantly fermented.
The popular float test can be inconsistent and is not required. A clearly marked jar and repeatable rise give more useful information.
When to keep feeding—and when to start over
A gray or dark liquid on a neglected starter generally means it is hungry; regular feedings can often restore it. A strong sour or acetone-like aroma can also signal that it needs food.
Discard the starter if you see signs of spoilage
Throw it out if you see fuzzy mold, pink or orange coloration or streaks, or if it smells putrid. Clean the container thoroughly and begin again. When you are unsure whether the starter is safe, do not taste it.
Common beginner questions
Which flour should I use?
A 50/50 mixture of whole-wheat or rye flour and unbleached bread or all-purpose flour can encourage fermentation during the early stages. Whole-grain flours retain more of the grain’s outer layers, along with nutrients and microorganisms that can help fermentation get started. I start with half bread flour and half whole-wheat flour because I usually have both on hand. Consistency matters more than chasing a perfect flour.
Does the water matter?
Use water suitable for drinking. Heavily chlorinated water can slow fermentation. If your tap water seems to inhibit activity, try filtered water and compare the result.
How long will it take?
Some starters strengthen in about a week; others take two weeks or longer. Instead of watching the calendar, watch your starter. When it rises reliably after several feedings in a row, you’re getting close.
What if I want to bake sooner?
Want to begin sooner? See our guide to dehydrating and activating a mature sourdough starter. You can buy a dehydrated starter from a reputable supplier and still learn starter care while shortening the wait for a culture strong enough to bake with.
Continue learning
Next, learn how to keep your established starter healthy in Starter Maintenance, or return to the Sourdough & Bread hub.